

Creating a batch
Importing a CSV batch
- From within the Batch tab, click on the Import batch button.
- Download the blank CSV template and then populate the required fields. Each line should contain one work address for the employee.
- Upload the completed CSV file.
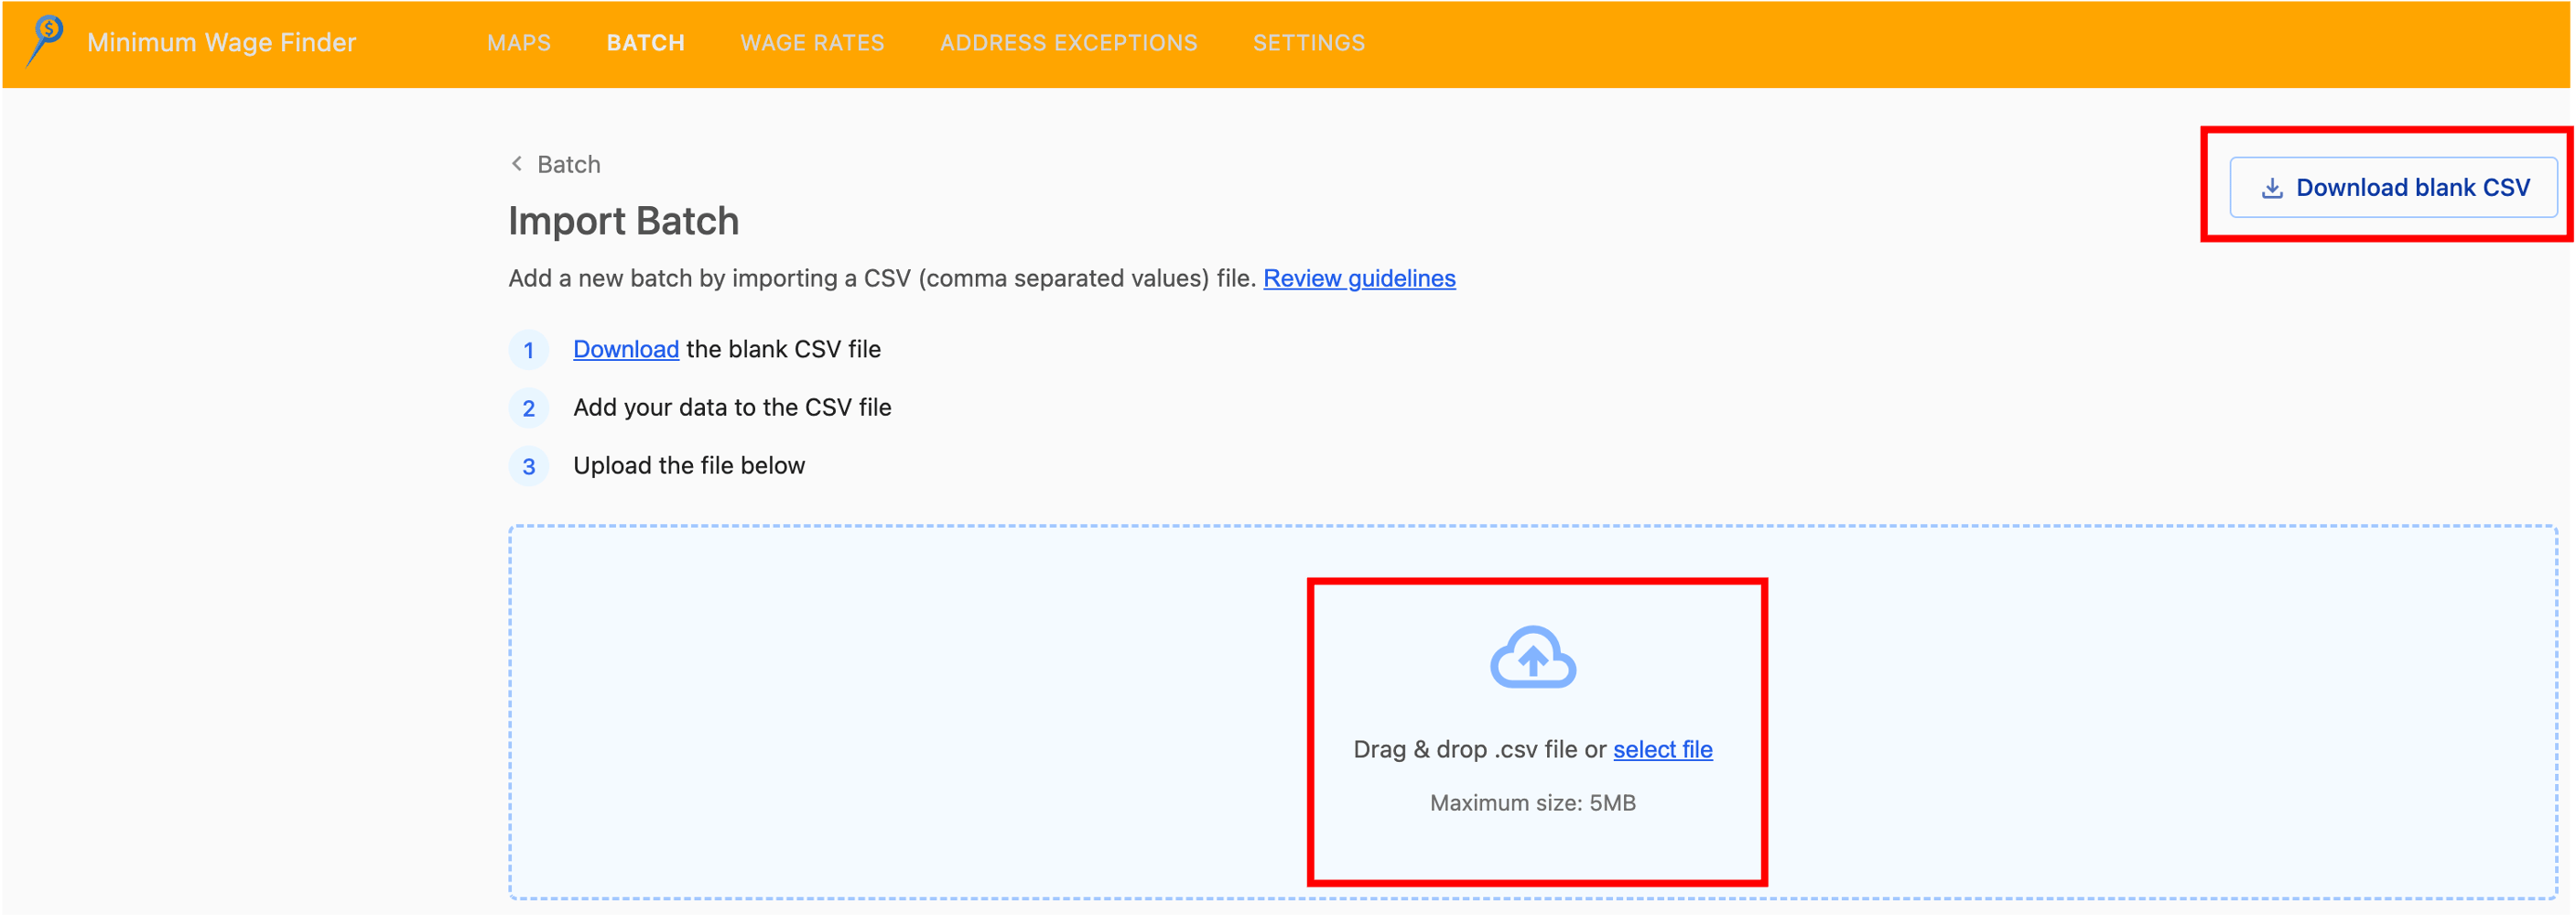
- Enter the batch name (required) and adjust the other settings as needed:
- Update the delimiter character that separates columns in your CSV file. This defaults to a comma (the delimiter used by the downloadable sample).
- Select First row is the header if your CSV file includes a header row (select this if using the downloadable sample). Leave this unchecked if you do not have a header row.
- Optionally select Run batch after upload to retrieve minimum wage rates immediately after uploading.
- Click Import to upload your data to Minimum Wage Finder.
- A success message will appear if all rows are successfully imported.
- If one or more rows were not imported (for example, when a required data point is missing from the CSV file), use VIEW IMPORT ERRORS to correct the error and reprocess the record(s). Batch-level status in the UI shows values such as Done, Ready, or Error.
Manual batch creation
- From within the Batch tab, click on the New batch button, enter a descriptive name for your batch (e.g., “January 2024 new hire rates”), and click Save.
- Click the Edit batch icon at the right (pencil icon) to begin adding new lines of employee work addresses to your batch.

- From within the Edit Batch page, click New line.
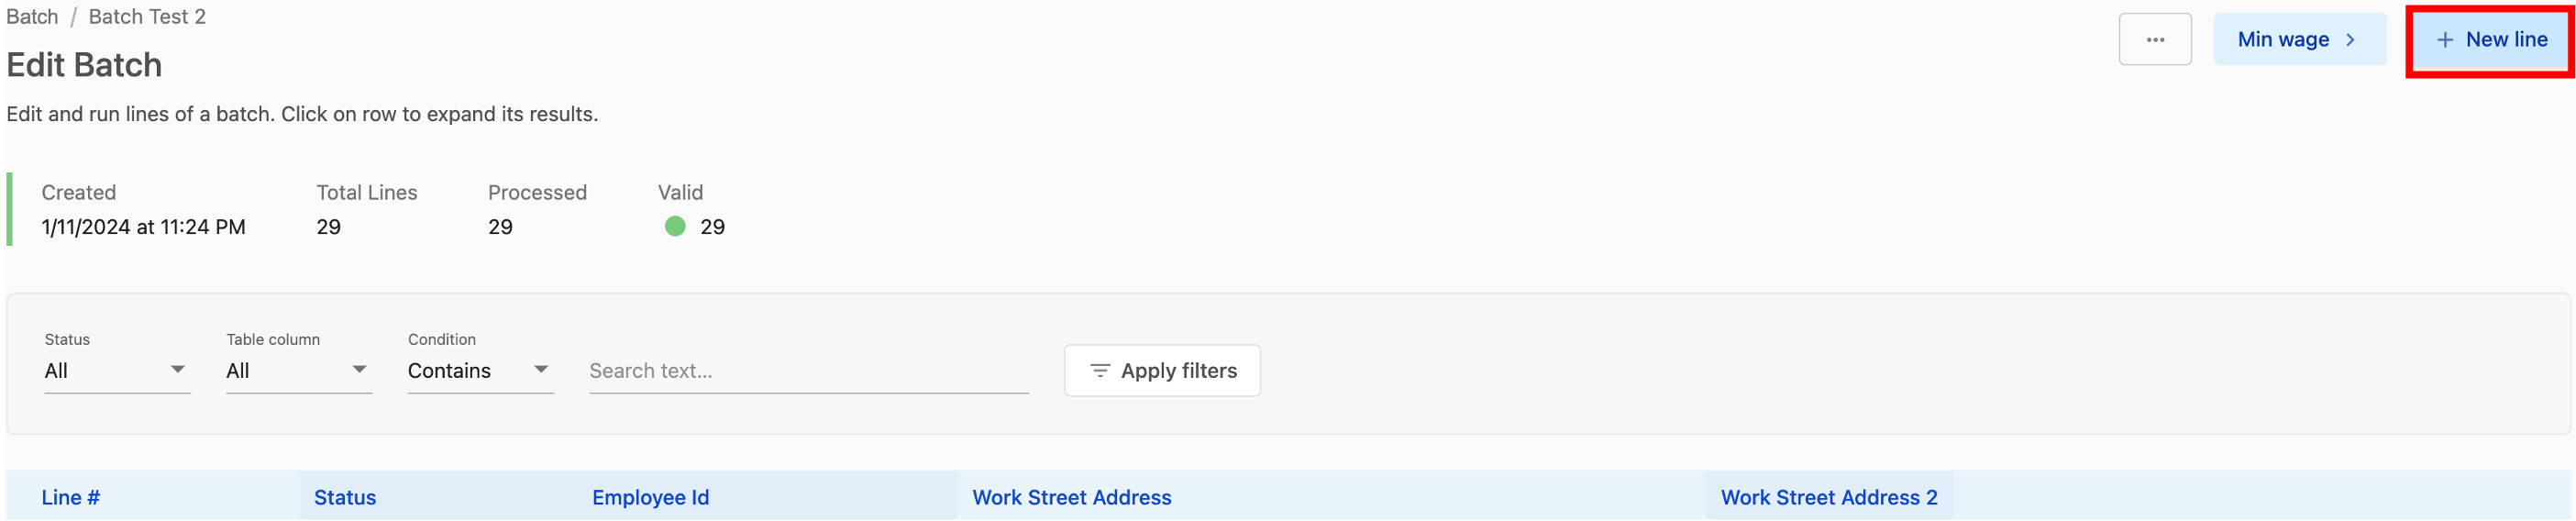
- Enter the employee’s information, including their work address location, and click Save.
- Continue adding new lines to the batch by repeating steps 3 and 4 until you are finished.
Running a batch
- Verify the global batch settings for your company are correct.
- From within the Batch tab, click the RUN icon in the row for the batch you wish to run.
- The number in parentheses represents the number of records in the batch. In the example below, 29 lookups (representing 29 work addresses) will be processed.

- The number in parentheses represents the number of records in the batch. In the example below, 29 lookups (representing 29 work addresses) will be processed.
- Once successfully run, the batch status will display Done and the View Minimum Wage Results button ($ icon) will appear. Click that button to see the minimum wage rate results from the lookups in the batch file.

- Each rate returned is one row in the results table. Therefore, one lookup may have multiple rows returned in the results table.
- If one or more rows were not processed and rates were not returned (for example when a required data point is missing from the CSV file), an error message will appear with directions on how to fix the error.
Download minimum wage data
- From within the Batch tab, find the batch results you wish to download, click on the ellipsis, and select View minimum wage from the dropdown.
- From within the Minimum Wage Results table, click on Download.
Data Retention PolicyBatch data is retained within the user interface for 30 days from the day the batch file was uploaded to Minimum Wage Finder.